Grow Your Own Miniature Storybook Display
Sprouting Stories and Imagination
Picture this: a secret story trail winding through your library, but only visible to those with a keen eye — and a very tiny point of view! This miniature storybook display is made just for pint-sized adventurers (and curious humans too), bringing big magic in a small package. Whether it’s tucked between your bookshelves or nestled in a garden bed, it’s sure to spark smiles and curiosity.
Using simple plant labels which you can find in most garden stores, this tiny installation brings big charm in a small package. It’s quick to make, budget-friendly, and guaranteed to spark smiles — especially when readers discover their favorite stories told in the tiniest of formats.
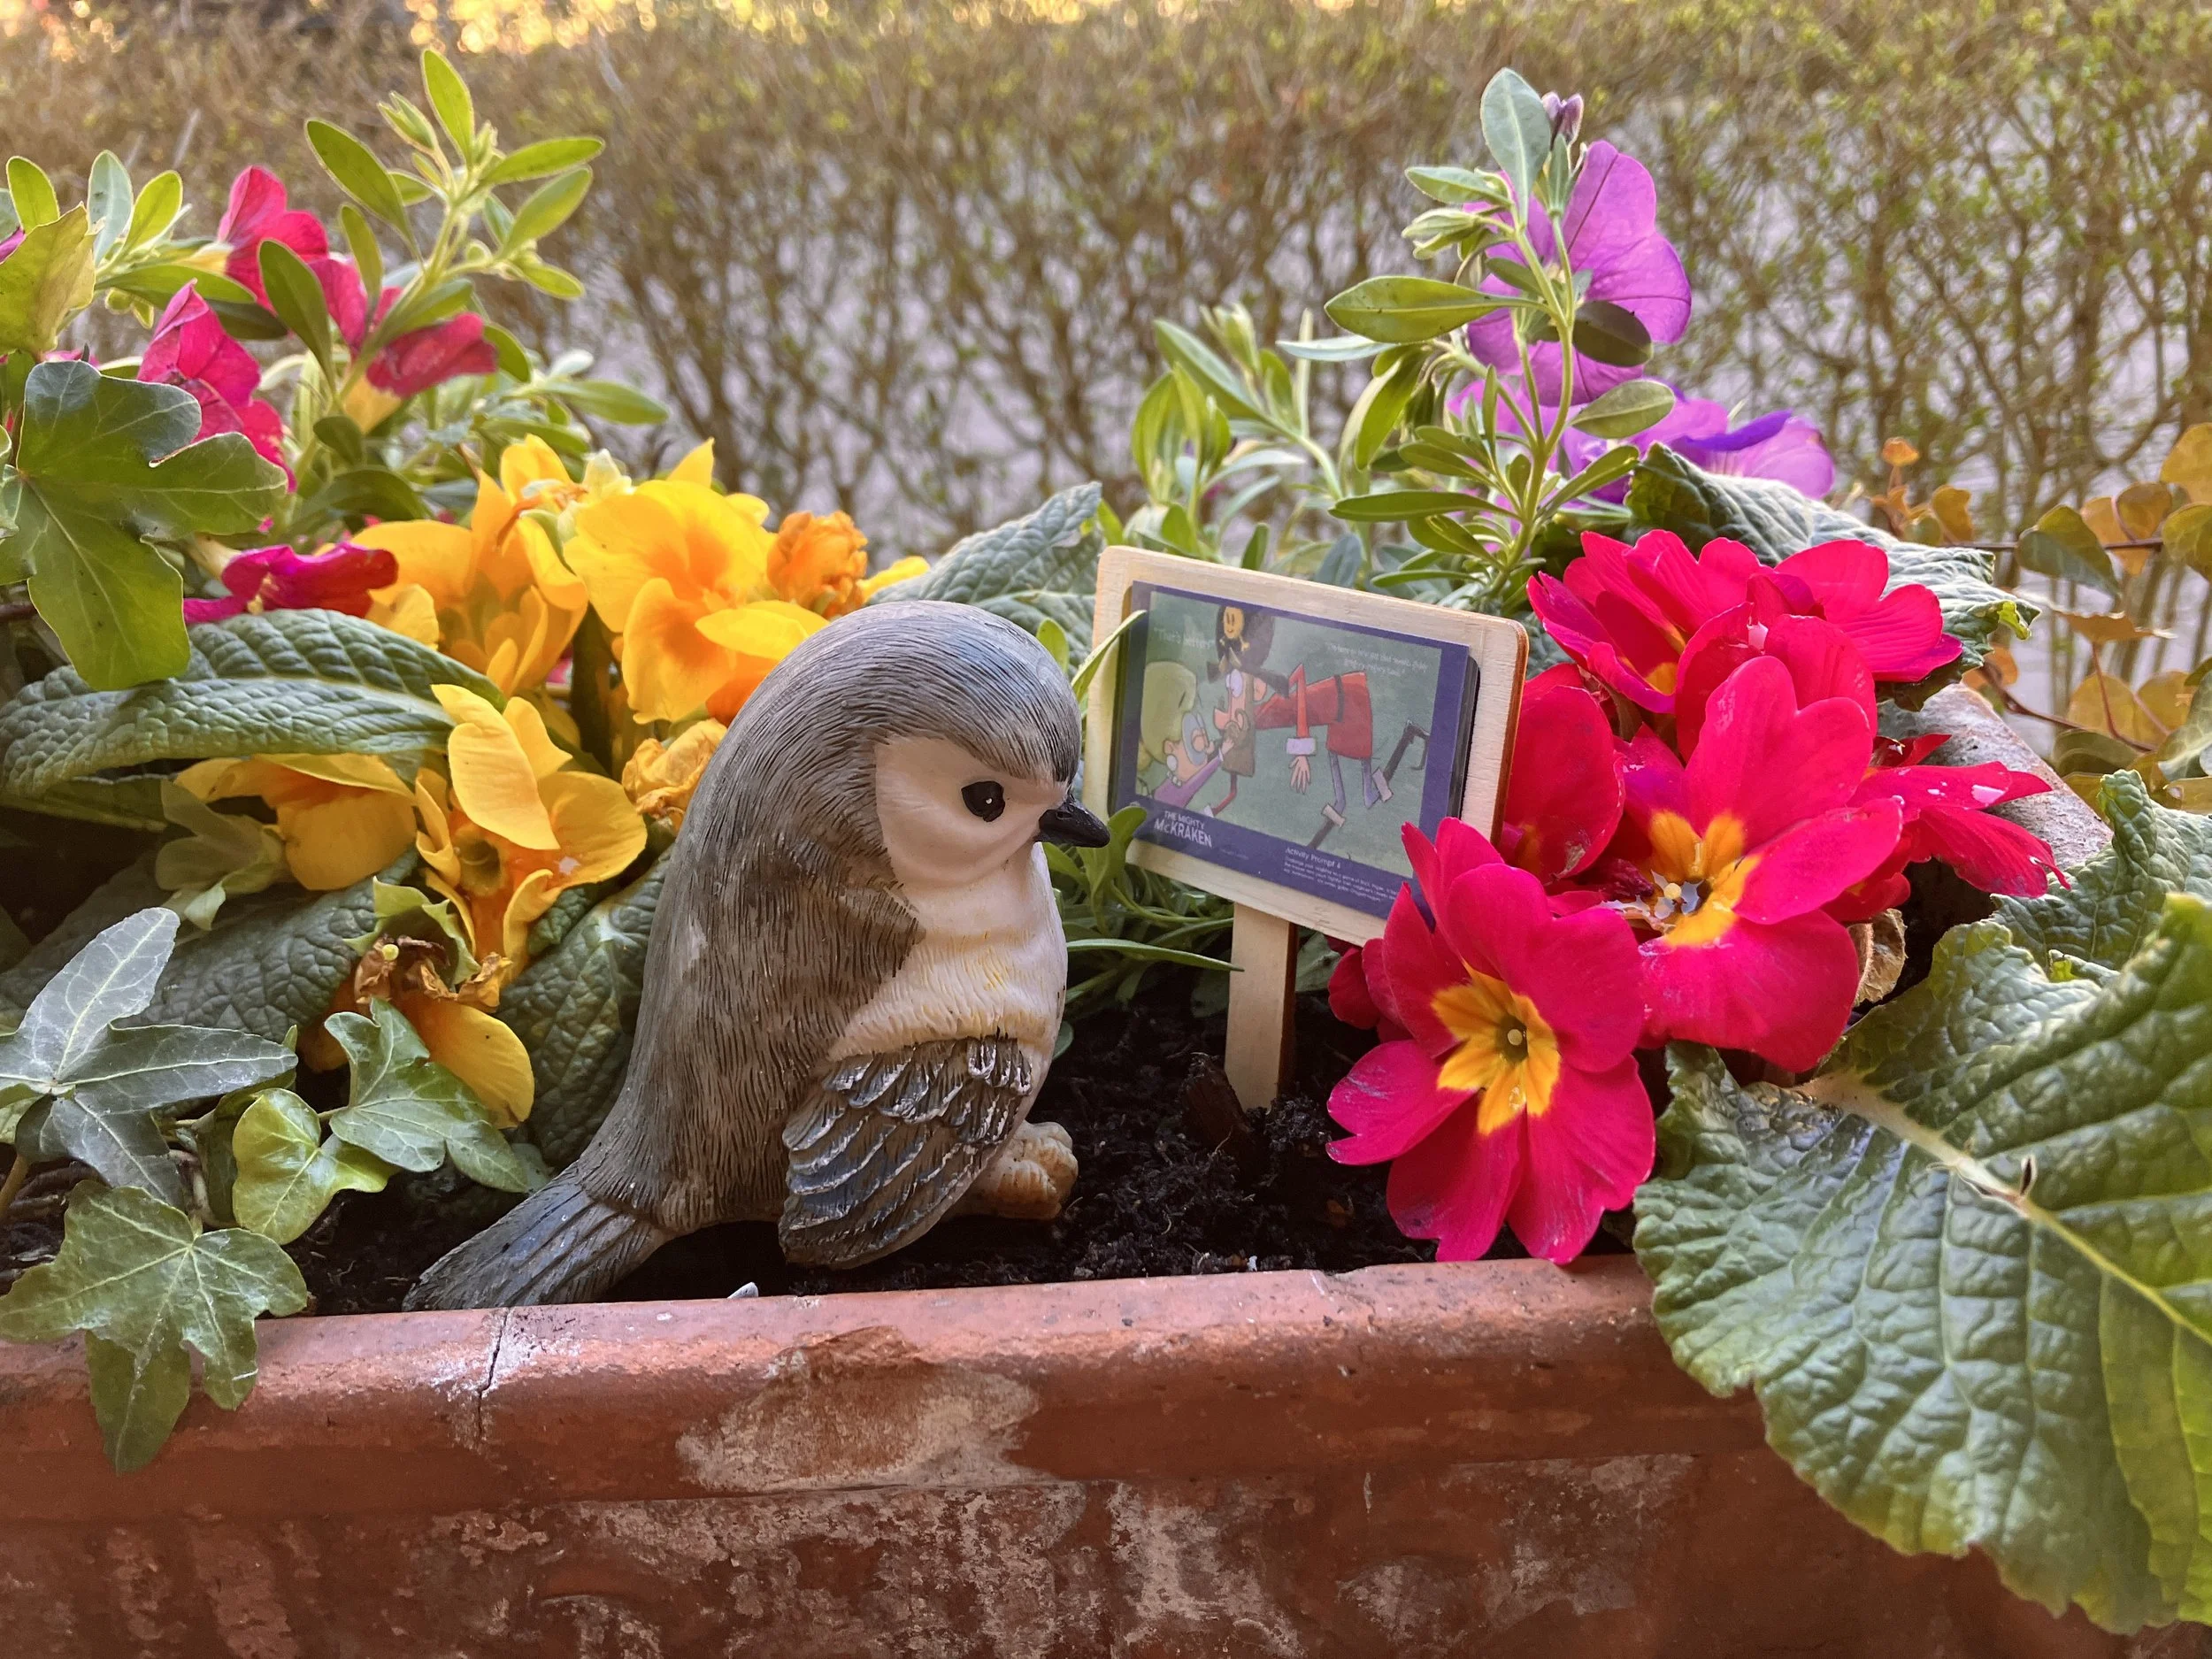
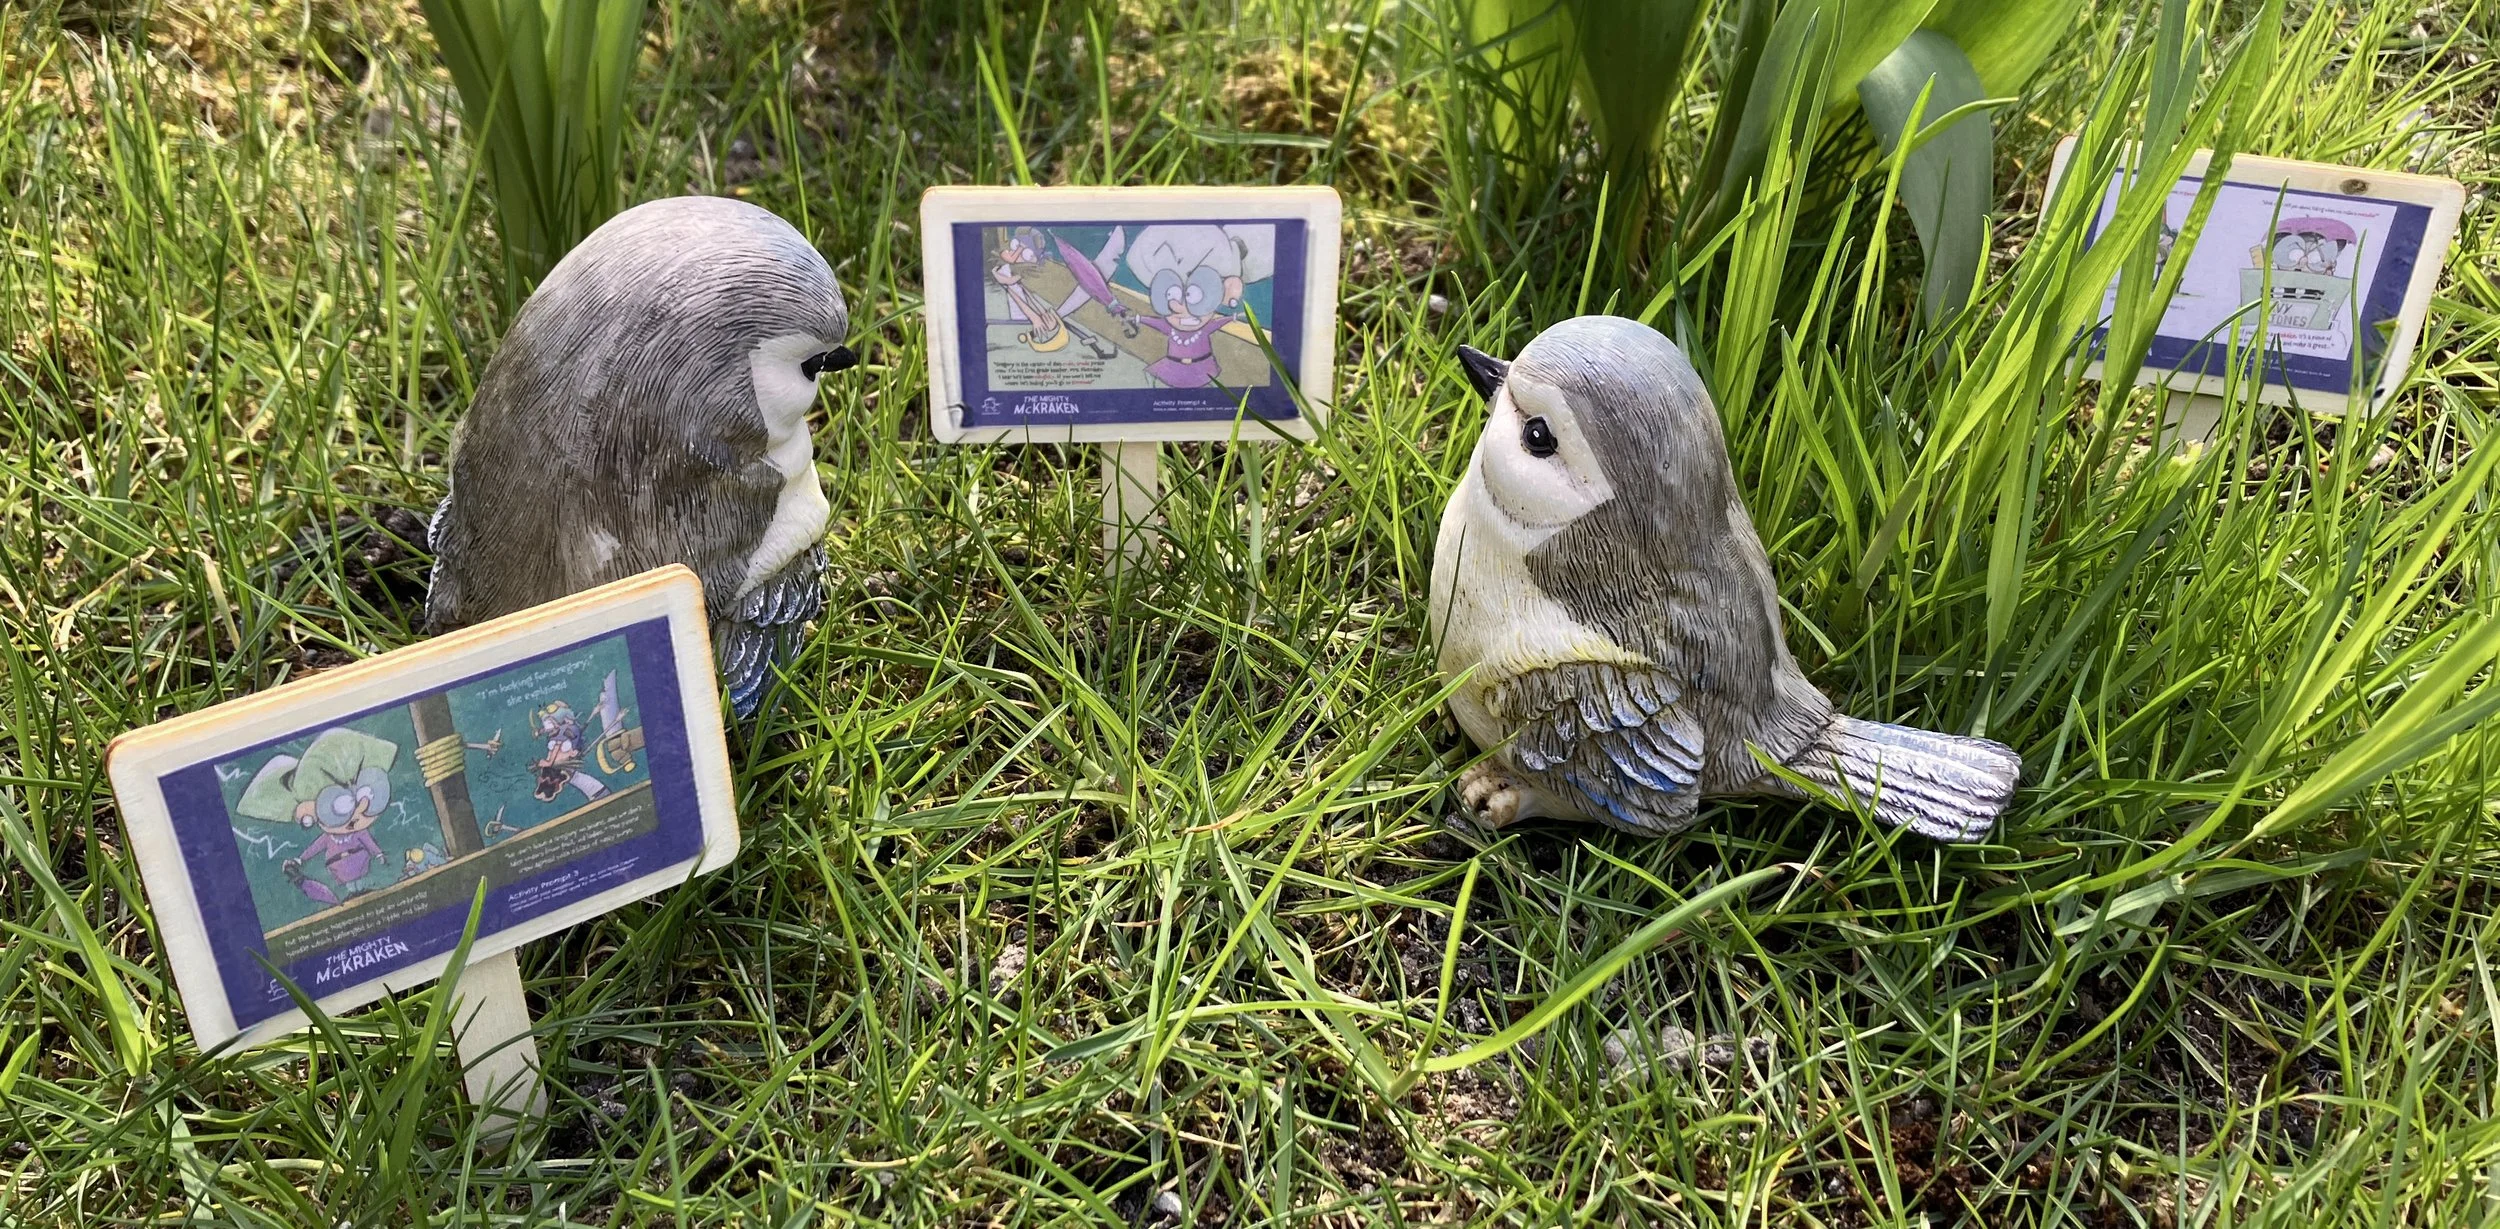
Here is a miniature Storybook Walk Edition of Izzy B’s The Mighty McKraken that some birds are enjoying in my backyard. The activity prompt reads, “Have a silent, invisible sword fight with your neighbor.” Doesn’t that sound like fun? Somehow, everything is just cooler in mini format, even an imaginary sword fight between two birds.
Create your own miniature storybook display
Here’s how you can grow your very own miniature storybook display, no matter the season or setting!
What You’ll Need:
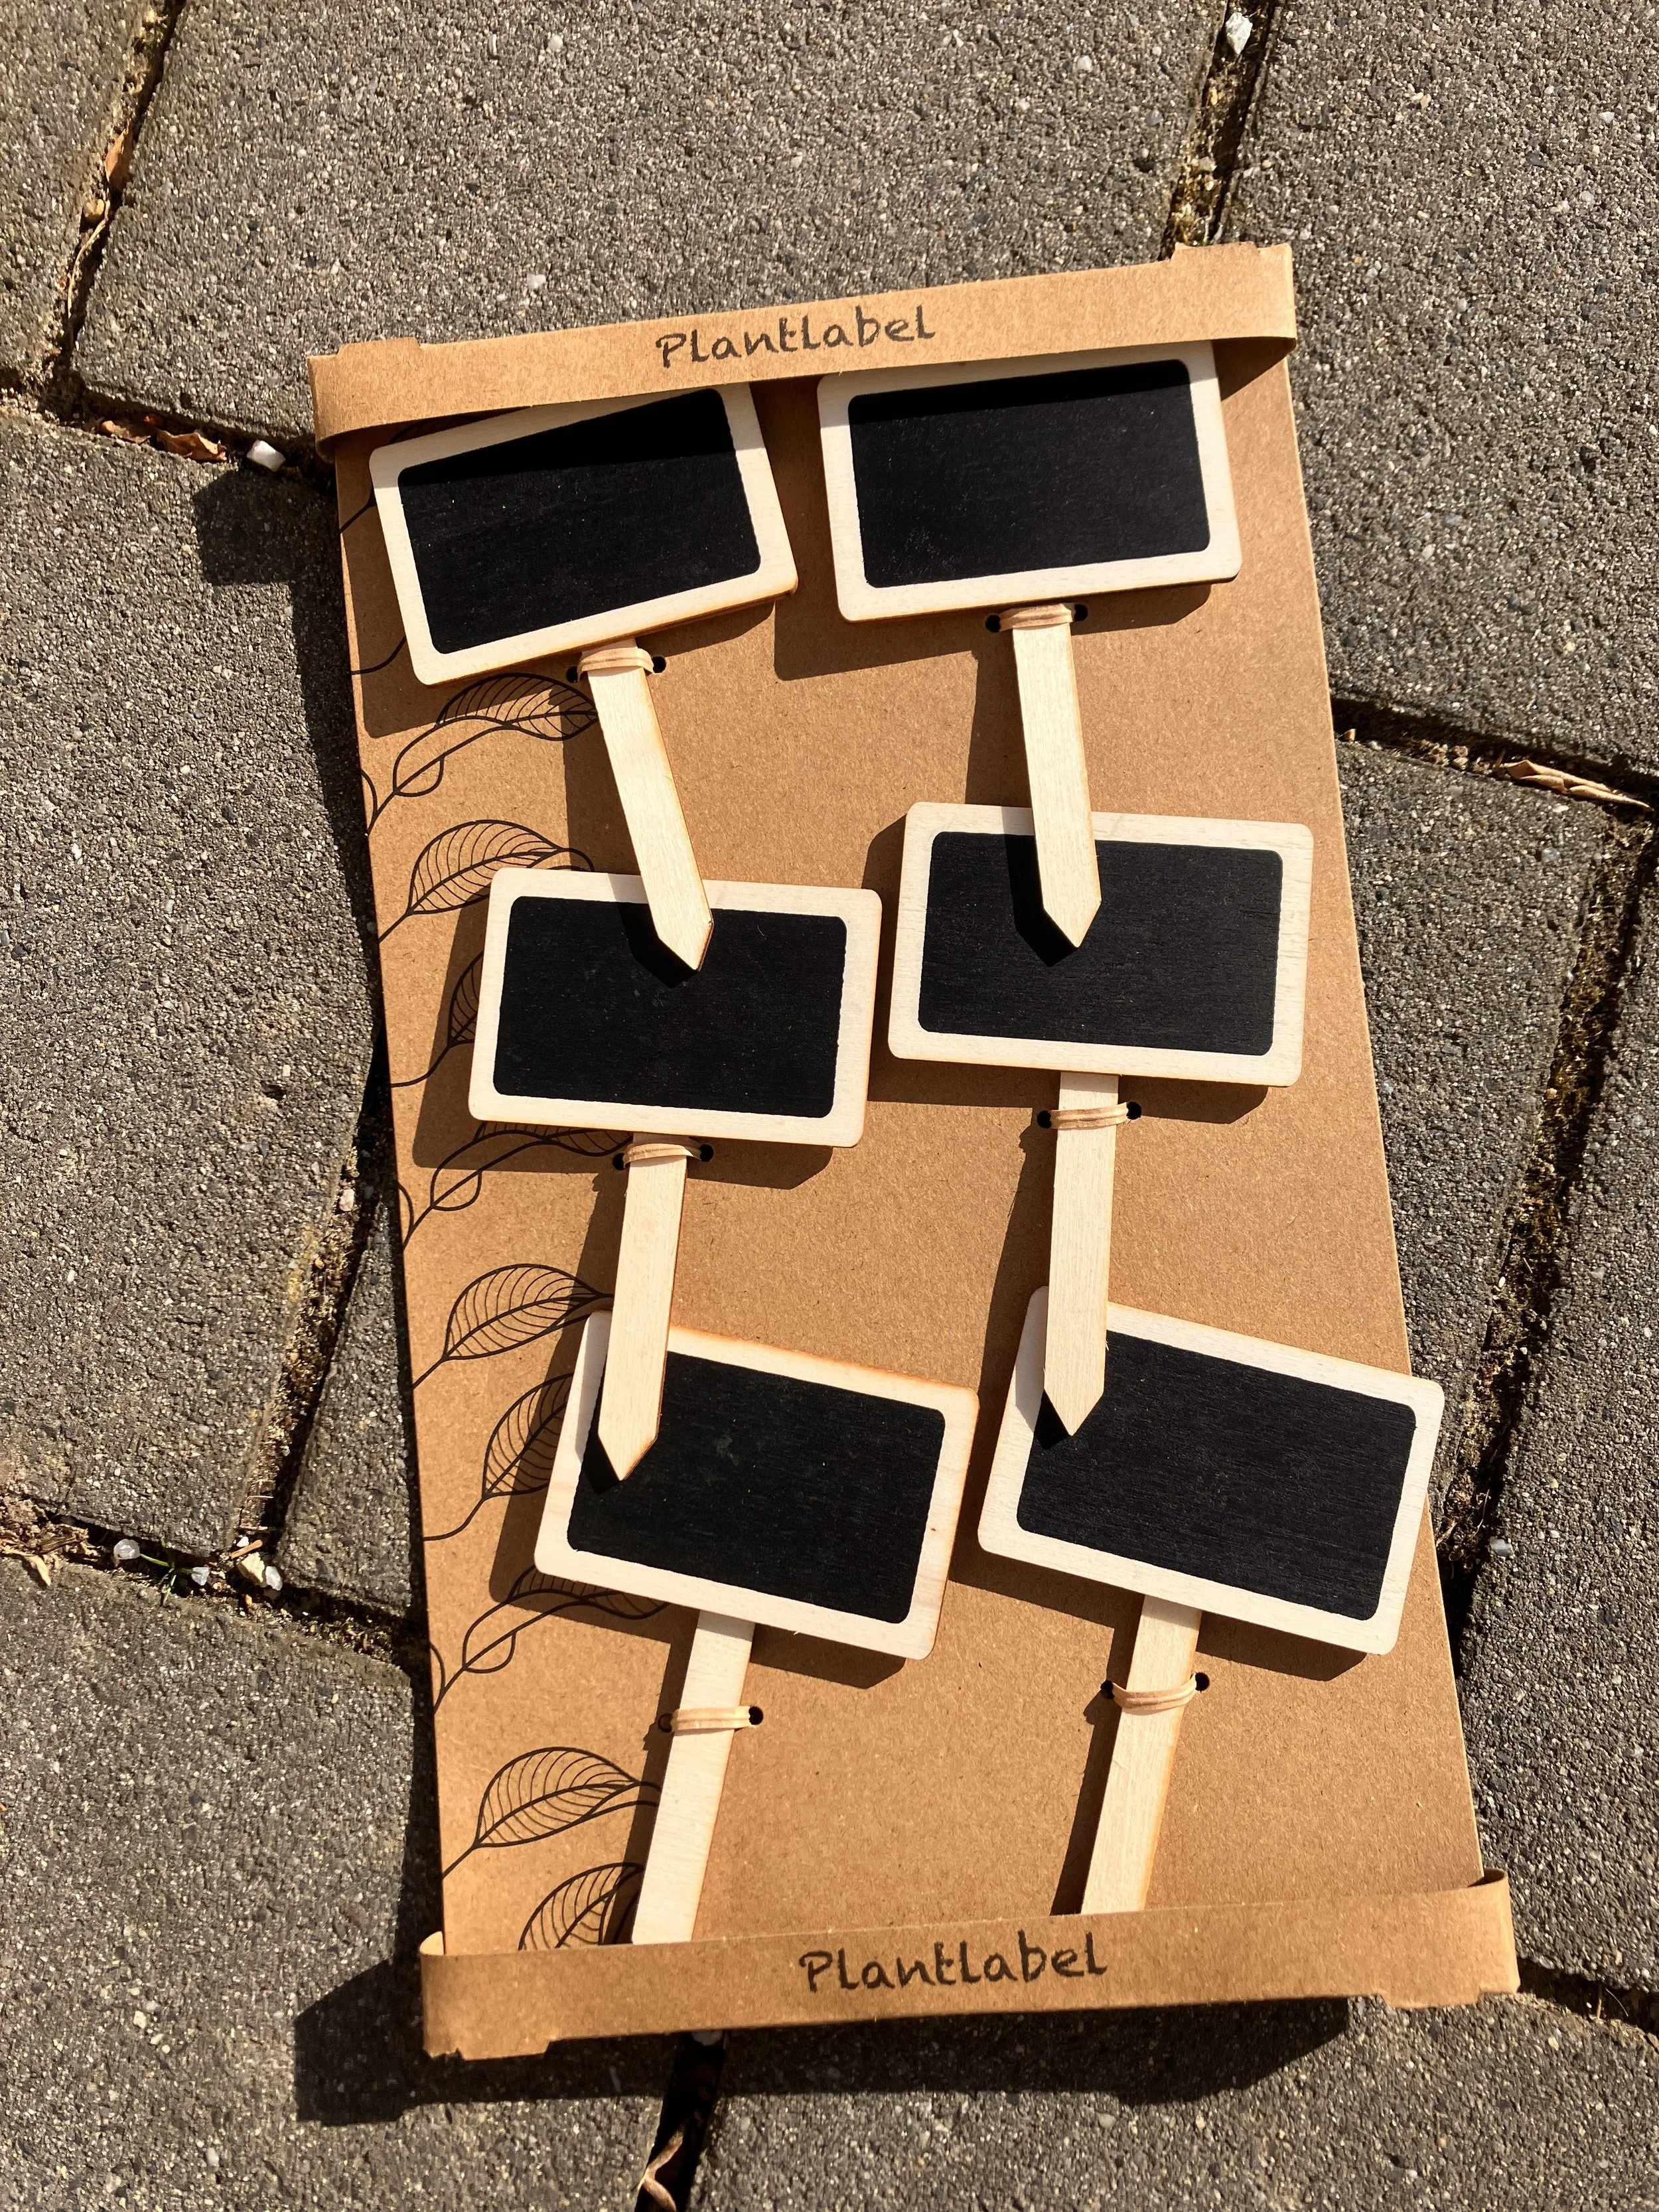
Wooden plant labels (easy to find at garden centers or craft stores. Or make your own using popsicle sticks)
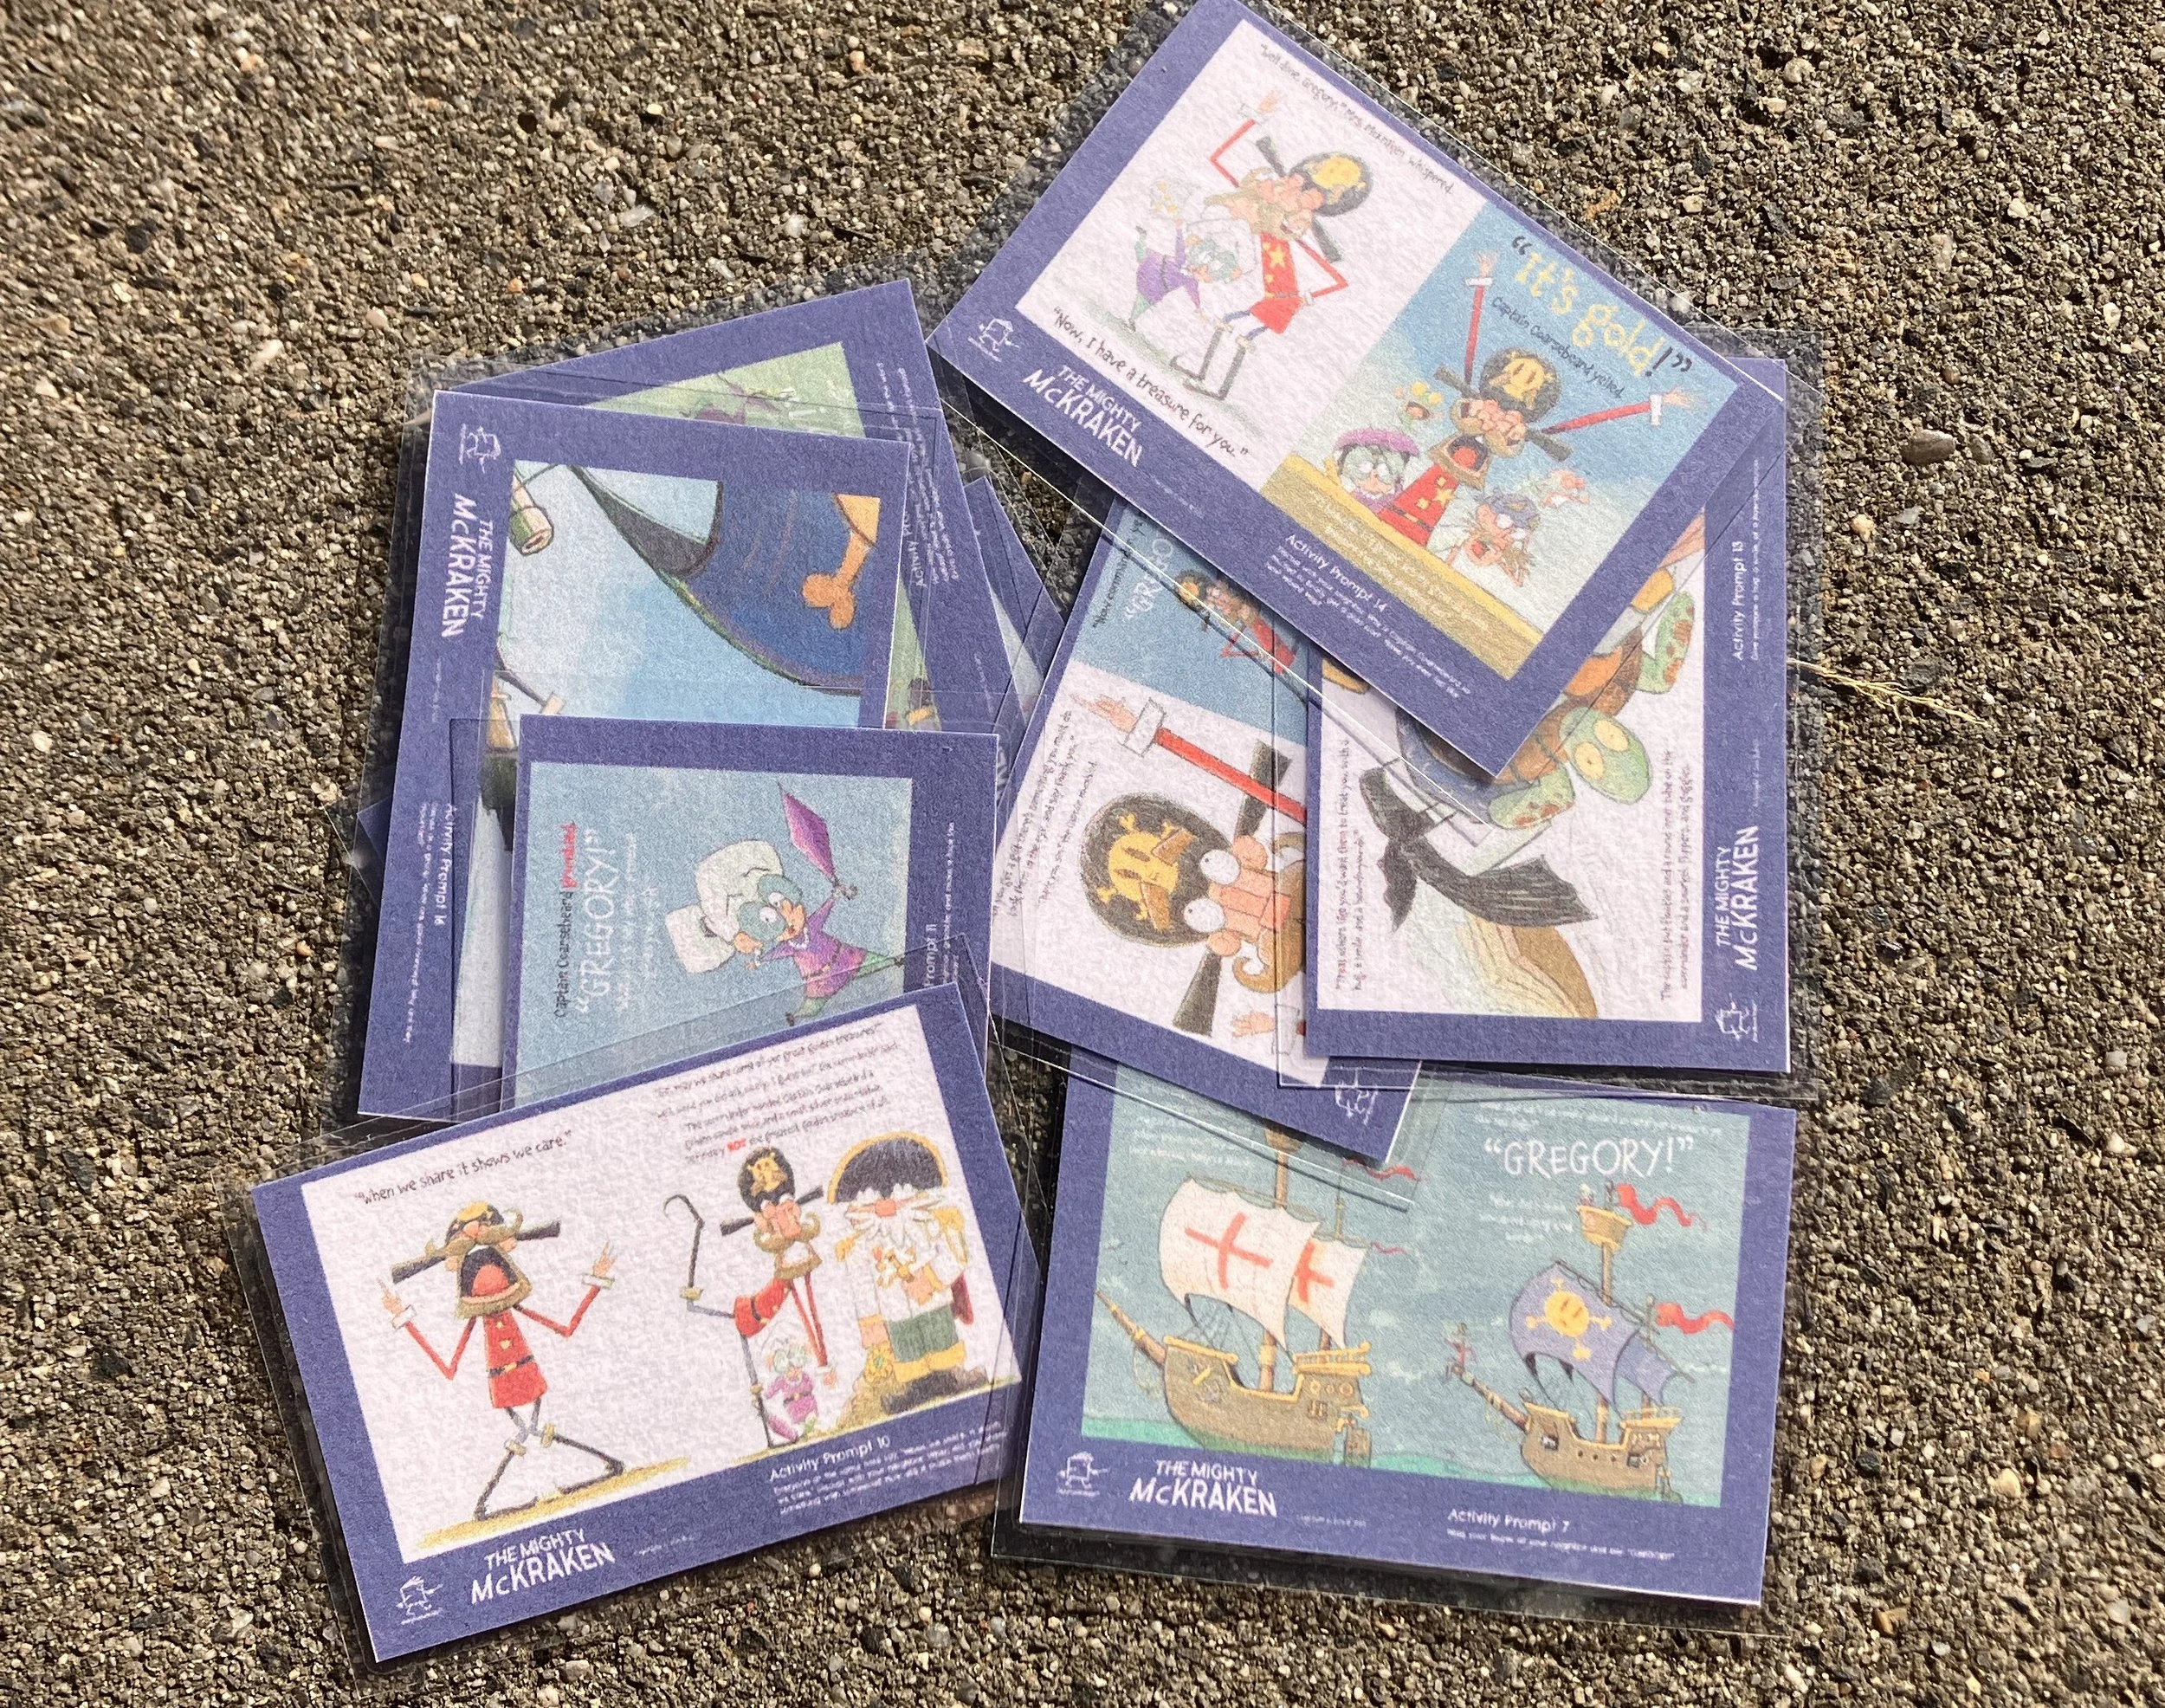
Miniature Storybook Walk Edition pages (print your selected story in a small format!)
Laminating sheets or access to a laminator
Double-sided tape or craft glue
Scissors
Instructions
Step 1: Print & Prepare Your Story Pages
Select a story that fits your audience — a seasonal tale, a themed story for a library event, or even a student-created book! Print the pages small enough to fit neatly onto your plant labels. Laminate them for a polished, durable finish. For my exhibit, I printed my sheets at size 1.5 x 2.5 inches. I don’t expect anyone to be able to read the story at this size. But, you can always read the story and then have your students find the pages that match.
Step 2: Cut & Stick
Trim your laminated pages, then attach them to your plant labels using double-sided tape or glue.
Step 3: Create Your Storywalk
Now, place your signs around your library or garden:
Nestle them between book displays (just make sure that they can’t fall down when someone grabs a book!)
Tuck them into potted plants at the front desk
Create a tiny trail through the children’s section
Add them to your story-time area for an interactive twist!
The best part? These are lightweight and portable, so you can easily rearrange them or store them away for future events.

Step 4: Invite Explorers!
Encourage readers of all ages to follow the mini-story trail. You can even turn it into a scavenger hunt: “Find all the pages of our tiny story adventure hidden around the library!” Snap some photos and share the joy with your community.
Whether you set up your miniature storybook display among the flowers, across a sunny windowsill, or nestled between bookshelves, the team at StorybookWalk.com would love to see where your creativity takes you. Snap a photo of your tiny literary adventure and share it with us! We’re building a gallery of imaginative literacy initiatives, and yours might just inspire the next librarian, teacher, or garden reader. Send your pictures to Kelley@StorybookWalk.com (Subject: Mini-Storybook-Display).
Let’s keep sprouting stories together!
